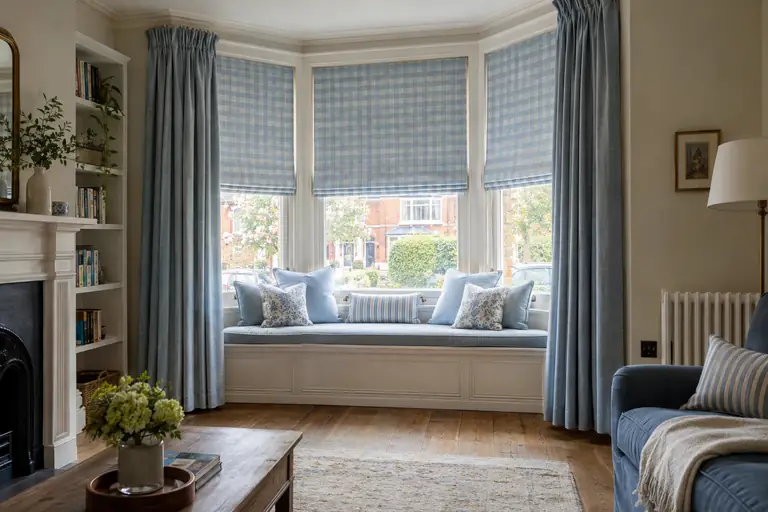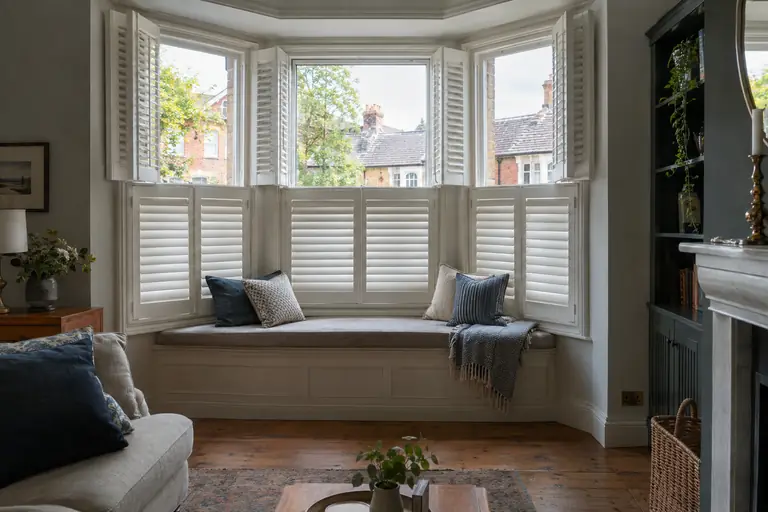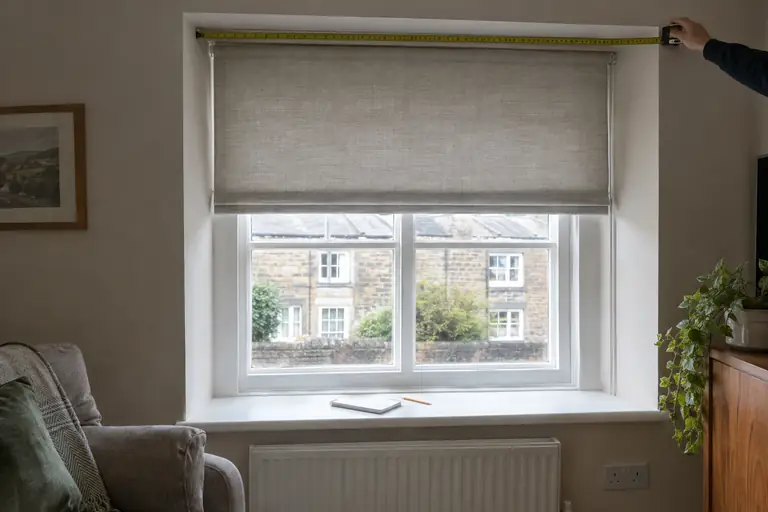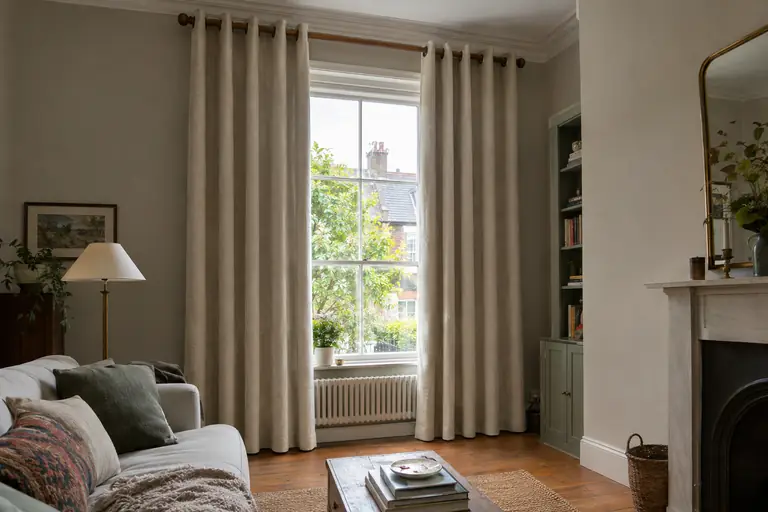
The short answer
Measure a bay pane by pane. For blinds, take the width and drop of each window separately and note the angle where each pair meets, because blinds in neighbouring windows need clearance at the corners. For curtains, measure along the line the pole or track will follow round the bay, or straight across its mouth if you want to close the bay off at night. For an order, our advisor measures every opening so the set lines through.
- Measure every window in a bay on its own. Neighbouring panes are rarely the same width, and the returns are rarely square.
- Blinds meeting at a corner need clearance, so decide which blind takes the corner and where the controls go.
- Line the set up: matching heights at the top and bottom matter more in a bay than anywhere else.
- Curtains can follow the bay on a shaped pole or track, or hang straight across its mouth.
- Your advisor measures a bay as a set, pane by pane, so the finished blinds read as one run.
Bay windows, seen from above
Swipe to see the whole diagram
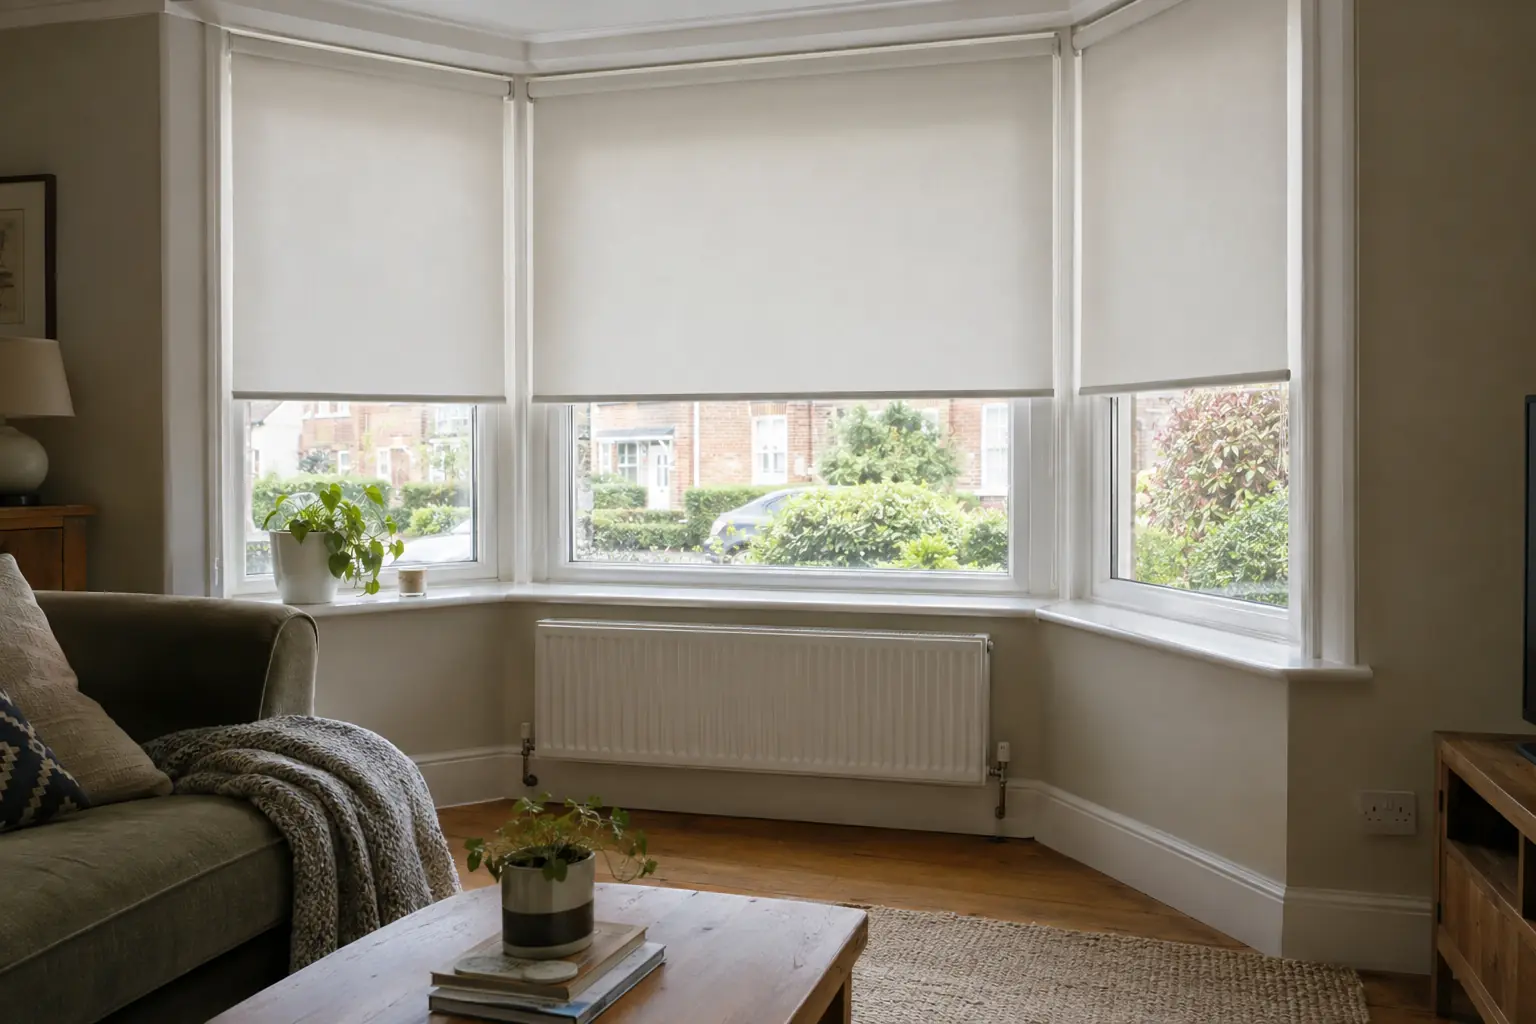
Each pane of a bay is measured and made on its own, and the blinds are set so they clear each other at the corners.
Step by step
- 1
Sketch the bay from above
Draw the shape of the bay as if looking down on it, and number the windows from left to right. Write every measurement against its window.
- 2
Work out what kind of bay it is
Square, angled or bow, and whether the windows are separated by solid piers or slim mullions. It decides how the blinds are planned.
- 3
Measure each window's width
In a recess, take the width at the top, middle and bottom. Between slim mullions, measure along the line where each blind will hang, post to post.
- 4
Measure each window's drop
Measure from the top of the bay to each sill at the left, centre and right. Note where the sills sit at different heights.
- 5
Measure the depth at the head of the bay
Note how much depth there is at the top of each window, and anything that intrudes, such as a vent or a handle on an opening side window.
- 6
Mark the corners
Note each corner where two windows meet, and where you would like the controls to hang so they can be reached easily.
- 7
For curtains, measure the run
Measure each face of the bay at the height the pole or track will sit, plus the wall either side, or the straight span across the mouth of the bay.
- 8
Note radiators and window seats
Both are common in bays and both affect how far a blind or curtain can drop. Mark them on the sketch.
- 9
Let the advisor measure the set
Our advisor measures every pane on its own for the order and plans the set so it lines through, which makes the fit our responsibility.
Why a bay is measured as a set
It is tempting to treat a bay as three windows that happen to be near each other. It is really one window in several pieces, and the eye reads it that way. When you look at a bay from the room, you see the tops of the blinds, the bottom bars and the slats or folds as lines running round the curve. If one blind is a little higher, a little narrower or a little longer than its neighbour, the line breaks, and once you have noticed the step you cannot stop noticing it.
The difficulty is that each opening in a bay is usually a slightly different width, and the returns, the side windows, are rarely square to the front. Three blinds ordered as the nearest standard size will each be wrong by a different amount.
That is why a bay is measured pane by pane and made as a set. Every window gets its own measurements, and the set is planned so the pieces line through. It is also why we would always rather measure a bay ourselves than work from a customer's figures.
Know your bay: square, angled or bow
Before you measure, look at what kind of bay you have, because it changes the approach.
A square bay, sometimes called a box bay, has side windows at right angles to the front one. The corners are sharp, which makes it simple to plan blinds for, but it also means two blinds meet head-on at each corner.
An angled bay, the classic Victorian and Edwardian front bay, has side windows set at a wider angle to the front. The corners are gentler, but the angle has to be known for a pole, a track or a set of shutters to follow it.
A bow window curves, usually in a run of narrower panes. It suits a blind in each pane and a curved track for curtains, and it is the bay where measuring pane by pane matters most, because the panes can vary more than you would expect.
Then look at what separates the windows. Wide brick or stone piers make each window its own recess, measured like any other. Slim timber or uPVC mullions give you a near-continuous run of glass, where the blinds are planned together along the top of the bay.
Measuring each window for blinds
Stand in the room, facing the bay, and number the windows from left to right on a rough sketch drawn from above. Then treat each window as a job of its own.
Where each window sits in its own recess between solid piers, measure it the way you would any recess: the width at the top, middle and bottom, the drop at the left, centre and right, and the depth. Keep all the figures, because in a bay the differences between windows are as useful as the sizes themselves.
Where the windows are separated only by slim mullions or corner posts, measure each window along the line where its blind will hang, from one corner post to the next, and note how deep the space is at the head of the bay. Measure the height from the top of the bay to each sill separately, because sills in a bay are often not quite level with one another.
Note anything that projects on each window: handles, stays, vents and catches. Side windows in a bay are frequently the ones that open, so the returns are often where the handles are.
The corners: where two blinds meet
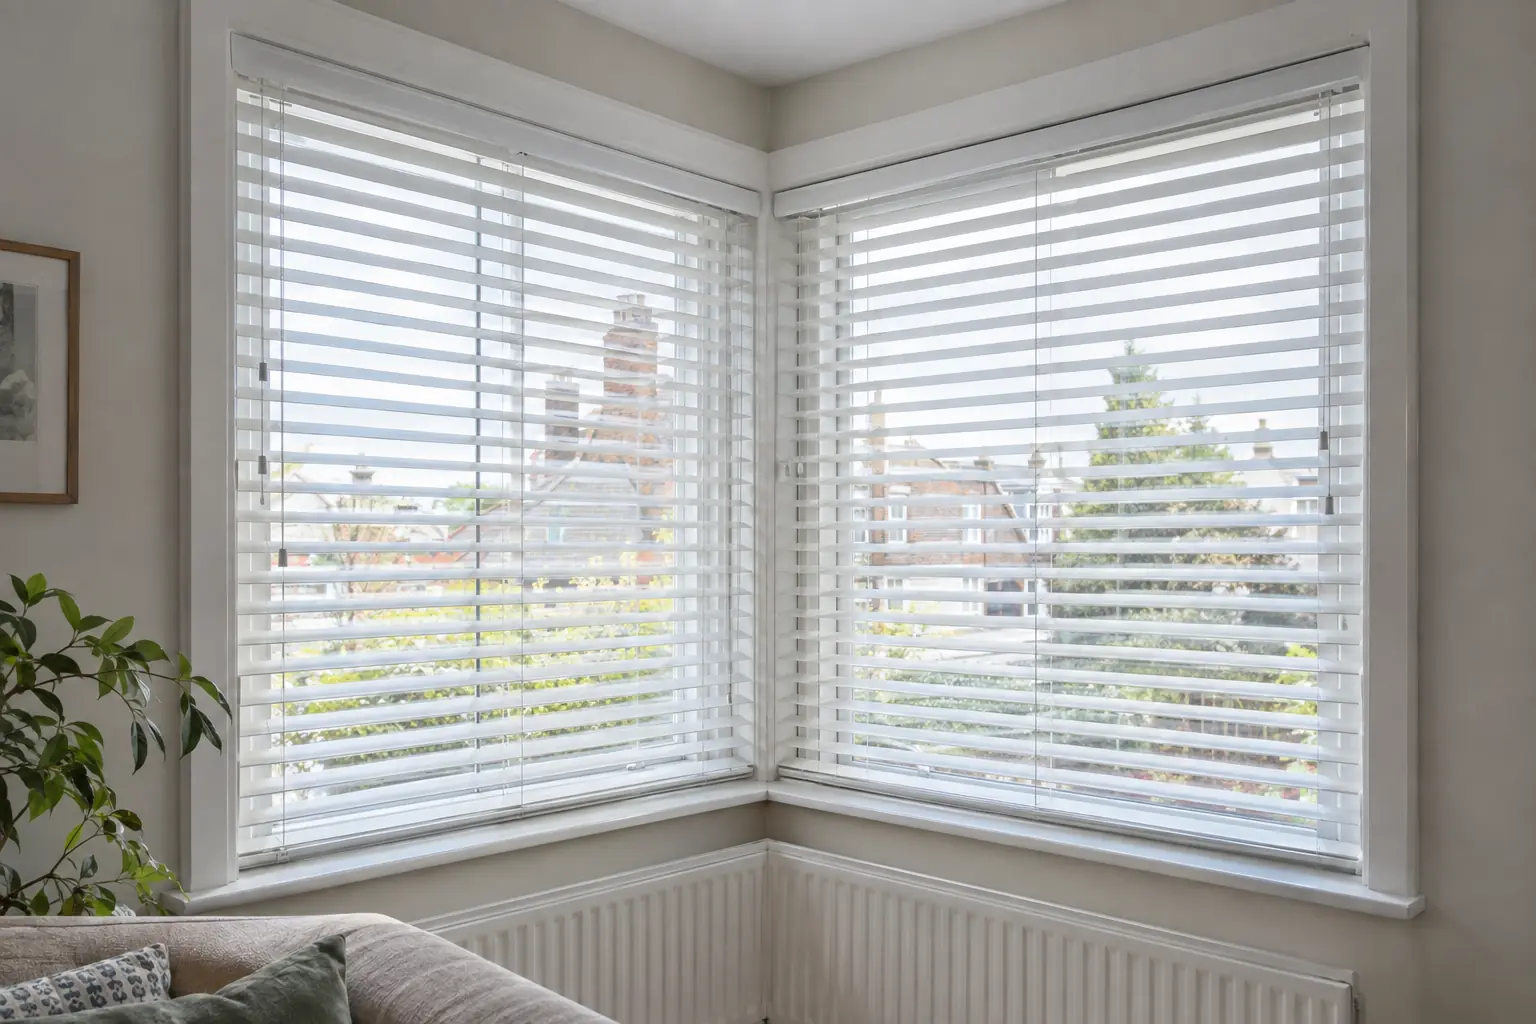
The corners are what make a bay harder than a flat run of windows. Two blinds meet at an angle, and they cannot both occupy the same space. Their headrails need room, and when the blinds are down they must not rub or catch on each other as they move. So at every corner there is a decision about which blind runs into the corner and which stops just short of it.
That decision affects how the bay looks. Done well, you see a neat, even line at each corner. Done without thought, you get a wider gap on one side than the other, or a blind that snags every time it is raised. A small clearance at the corners is normal and unavoidable; the aim is to keep it small and even all round the bay.
Think about the controls at the same time. Two chains or cords hanging in the same corner tangle and are awkward to reach behind a window seat. It usually makes sense to put the controls on the outer ends of the bay, or wherever you can stand to use them. Your advisor plans the corners and the controls as part of the set.
Keeping the set in line
Once each window is measured, the next job is making the blinds agree with each other.
At the top, the headrails of neighbouring blinds should sit at the same height, so the line round the bay is unbroken. If the head of the bay steps or slopes, which happens in older houses, the advisor will decide whether to follow it or set the blinds level and let the difference fall elsewhere.
At the bottom, you have a choice. Each blind can finish at its own sill, which fits snugly but may leave the bottom bars at slightly different heights. Or all the blinds can be made to the same finished drop, so the bottom edges line through as you look round the bay. With roman blinds, the stacks at the top should line up as well, which is another reason to plan the drops together.
Slatted blinds show misalignment most of all. In a bay, a small drift in the height of the top rail becomes a visible step in the slats by the time your eye reaches the third window. Measuring every pane on its own is what stops that happening.
Measuring for curtains in a bay
Curtains in a bay can be hung in three ways, and each is measured differently.
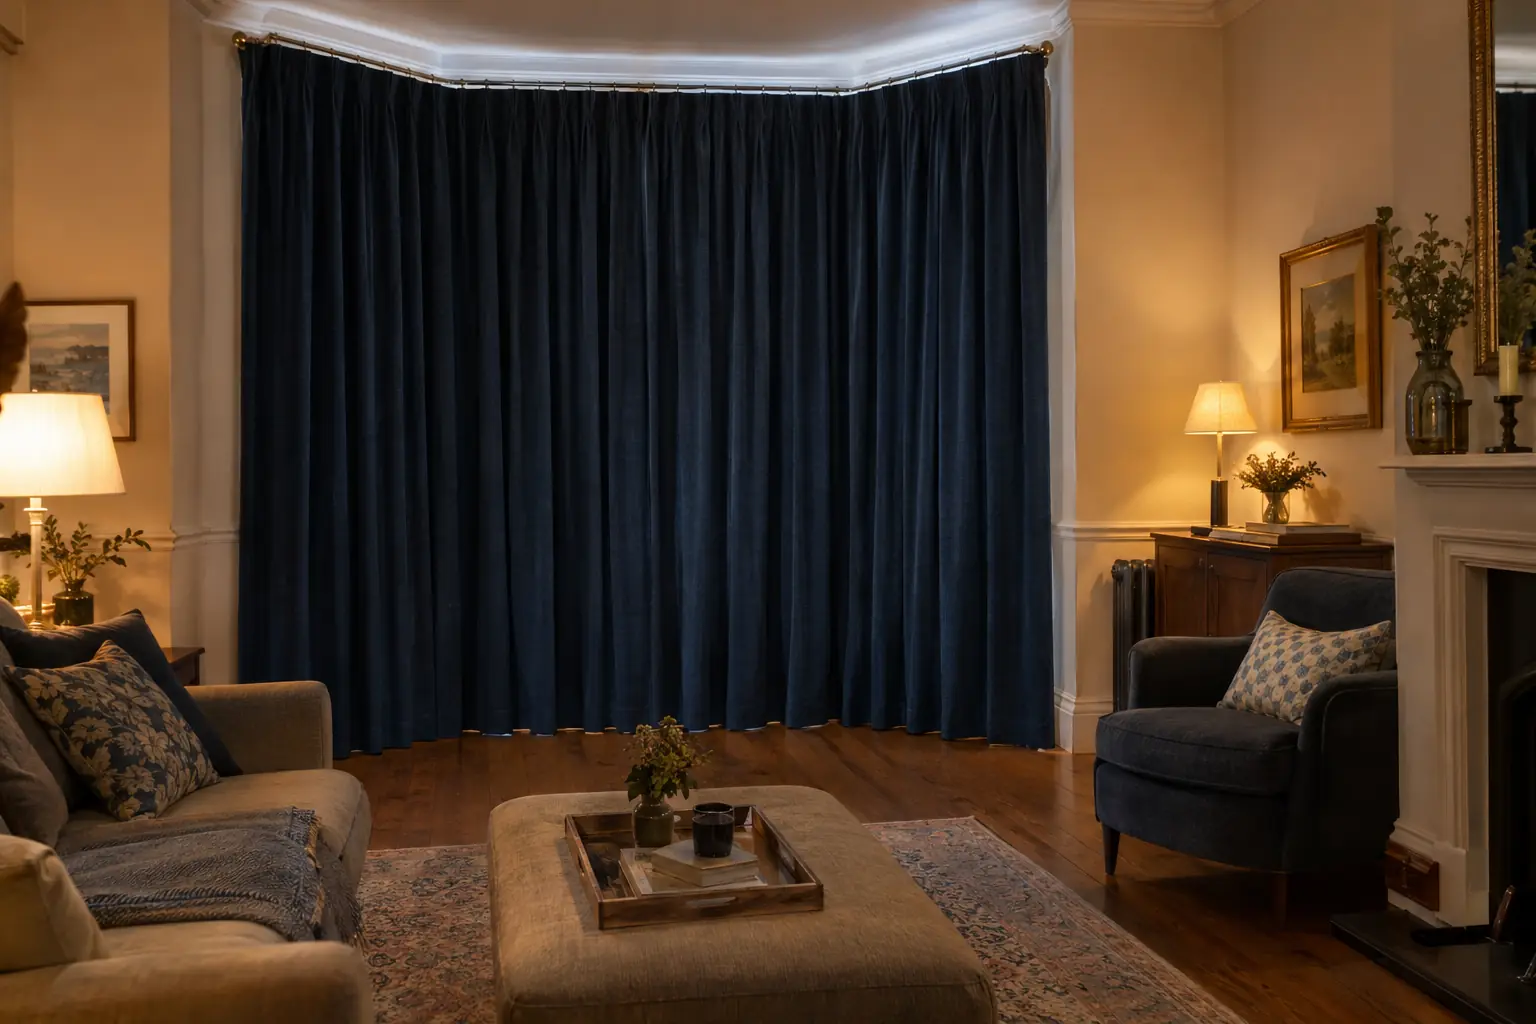
The first follows the bay. A track shaped to the bay, or a pole made with angled joints at the corners, runs round the inside, and the curtains draw round with it. Measure the length of each face of the bay at the height the fittings will go, and the wall either side of the bay if you want the curtains to stack there. Note the angles, or at least which kind of bay you have, because the fittings are made to the shape.
The second hangs straight across the mouth of the bay. One pole or track spans the opening, and the curtains close the bay off at night. It is simpler to measure, a single width and drop, and it keeps the cold glass of the bay behind the curtains when they are drawn, at the cost of losing the bay from the room after dark.
The third uses curtains at the ends only, as dressing, with a blind in each window doing the work. Whichever you choose, measure the drop at several points round the bay, and note radiators and window seats, which are common in bays and change the length.
Shutters in a bay
Shutters are a popular choice for bays, because they follow the lines of the window and turn the bay into a piece of fitted joinery. They are also the least forgiving option, since a set of rigid panels has to meet cleanly at every corner.
Each face of the bay is measured on its own, and the set is planned so that panels in neighbouring windows can open and fold back without clashing at the corners. On an angled bay, the angle of each corner has to be taken on site, and a bow window needs the curve worked out pane by pane. If the bay is out of square, as many older bays are, the frames have to be set true within it.
It is also worth thinking about how you want to use the bay. Tier-on-tier panels let you open the top for light while the bottom stays closed for privacy from the street, and café style covers only the lower half. Our guide to shutters for bay windows covers the styles in detail. For the measuring, leave it to the advisor: it is the part of a shuttered bay that decides whether it looks right.